



Hey there 👋
Are you a gamer who just can’t keep up with Microsoft?
Are you someone who hates Windows 11 with a passion and wants to game on something different?
If you are one of those people then cheer up because Substack gods have taken you to the perfect article.
You’d know that Valve finally launched the Steam Machine for the price of $1,049 for the base 512GB model. Yes, I get that it’s expensive and I know a lot of people who are not happy about that price.
Early predictions had this thing landing somewhere around $600 to $800. Instead we got a price that is closer to a mid-range gaming laptop.
If you go over online coverage of the Steam Machine, it looks like the whole world is burning over it.
But here’s what nobody is talking about.
With the launch of Steam Machine, Valve opened up SteamOS so anyone can install it on PC with compatible hardware.
And that too for free. There is no waiting list or price tag for that.
So, I followed Valve’s instructions and installed SteamOS on my own laptop a few days ago.
And this article is me detailing that process so you guys could follow it too.
This article will walk you through the exact steps that I went through. I have shared screenshots too, so you can try SteamOS by following this piece.
The Steam Machine Is Expensive
Quick context before we move on, because I know some of you are coming in hot.
Valve officially released the Steam Machine on June 22, 2026. The entry price of $1,049 for the 512GB model was notably higher.
Most people were guessing it would land around the $600 to $800 range.
The 2TB model runs $1,349.
Add the new Steam Controller and you are looking at $1,130 for the base bundle or $1,428 for the loaded one.
The reason is not some greedy cash grab but the reality of making hardware products in 2026.
Valve engineer Pierre-Loup Griffais confirmed the team had been tracking a lower price target back when they first started working on the Steam Machine in 2023.
A global RAM shortage wrecked those plans. Globally RAM prices went over 400%. That is 4 times!!
AI data centers are eating up the same memory chips that go into your gaming PC, your phone, and your laptop.
Three companies (Samsung, SK Hynix, Micron) produce roughly 95 percent of the world’s RAM.
All three companies shifted production toward high-margin AI chips, leaving consumer hardware fighting over scraps.
Valve even considered dropping the Steam Machine from dual-channel to single-channel RAM just to stretch the supply they could actually get.
So yes, $1,049 stings. But it is not really a Valve problem. It is everyone’s problem.
PlayStation, Nintendo, Xbox, even Apple, all of them have raised prices for their hardware.
Steam Machine is expensive largely because of the global RAM shortage. I covered this shortage in our dedicated article linked here.
We discussed how RAM quadrupled in price in a span of a year and how every computer is more expensive because of that.
It Is Not Really Valve’s Fault Though
Look, unlike Sony and Microsoft, Valve does not subsidize the Steam Machine.
Consoles are usually sold at a loss or near break-even because money comes back in the form of game purchases.
Valve cannot do that here. The Steam Machine is fundamentally a PC.
Someone could buy it, wipe SteamOS, install Windows, and never give Valve another dollar through game purchases.
So Valve has to price the hardware to actually cover its costs.
For context, you can build an equivalent or better desktop PC for the price of the base Steam Machine.
But you cannot have that PC remotely turn on your TV or fit silently inside that TV shelf.
This comfort is something that quite a few people are after and it’s their choice if they want to buy the Steam Machine for that price.
Look, I am not here to tell you to stop being annoyed. I am annoyed too.
But there is a silver-lining to all of this that most people are not paying much attention to.
SteamOS Opens Up
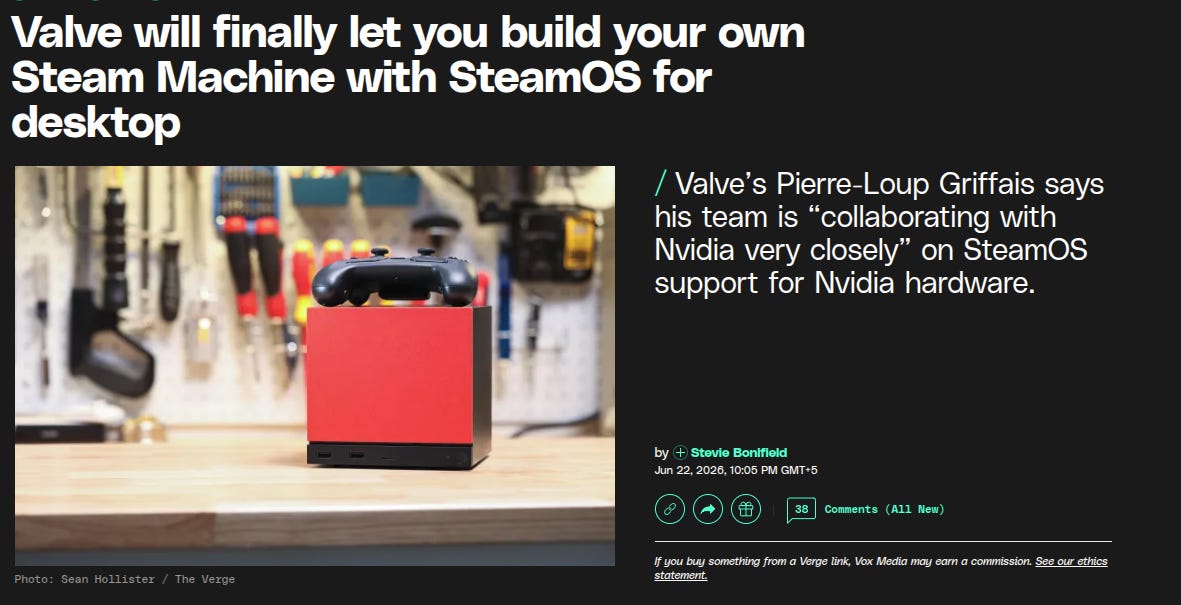
Around the Steam Machine launch Valve quietly shipped SteamOS 3.8.10.
Valve engineer Pierre-Loup Griffais told The Verge that starting with this release, you can put together your own Steam Machine using whatever PC parts you want.
Until now SteamOS was basically locked to AMD hardware, because it powers the Steam Deck and the official Steam Machine.
Installing it on anything else required janky workarounds using the Steam Deck recovery image, and the results were inconsistent at best.
SteamOS 3.8 changes that. The update adds proper support for Intel GPUs including the newer Arc B series, alongside fixing bugs that didn’t allow other PCs to boot into SteamOS.
Valve has also changed the graphics stack of the Steam Deck to a more modern package called Wayland. This will provide better switching between Desktop and Gaming Mode.
And one of the biggest surprises is that Nvidia support is actively being worked on too.
Griffais said Valve has “a growing team” collaborating with Nvidia “very closely” on proprietary driver support for GeForce cards.
He was careful not to promise a date, saying support “might not come this year,” with most outlets pegging a realistic target somewhere in 2027.
Nvidia has had a rocky relationship with consumer Linux drivers and Valve is working on changing that.
This means that a large chunk of gamers who boast their GeForce graphics cards can soon get SteamOS working on their hardware too.
Right now if you want the best experience with SteamOS, you should aim for AMD CPUs and GPUs that were released based on the RDNA 2 and RDNA 3 architectures because that is what the Steam Deck and Steam Machine use.
RDNA 4 support is also in there through the updated Linux kernel and Mesa drivers SteamOS 3.8.10 ships with.
If you’re not sure what SteamOS is, here’s a dedicated article we did covering what it is and how it’s causing a revolution in the gaming space.
The article is linked here for you to check out.
Before You Install SteamOS
Look, I get that it’s really exciting to get rid of Windows and try out SteamOS but let me tell you a couple of things to keep in mind before you begin.
Installing SteamOS WILL ERASE ALL DATA ON YOUR COMPUTER!!
It’s best that you don’t use your primary computer and instead use a secondary computer for trying out SteamOS because SteamOS wipes the drives connected to the computer.
Be ready to debug for bugs and issues like any other software, SteamOS will have bugs. And it’s up to you to fix them and debug them which can sometimes take a few minutes to many hours. You have to be willing to spend hours browsing through internet forums, Reddit threads or working alongside ChatGPT figuring out why SteamOS won’t install for you.
No one is responsible for SteamOS. You can install SteamOS on hardware you own even if it’s not officially supported by Valve. But it also means you are totally responsible for your install. Valve support won’t be there to help you if you’re facing any issue with SteamOS.
There are some other limitations too. Once you install SteamOS, it will replace operating systems like Windows that are already installed on your system. You have to reinstall them again if you want to remove SteamOS from your computer.
Dual-booting alongside Windows is also not officially supported yet, so you should plan to dedicate an entire drive or a computer to SteamOS.
Secure Boot has to be disabled to install SteamOS. You’d find this setting in your motherboard’s BIOS.
I have an older laptop lying around that I do not use for much anymore, so none of that mattered to me. I figured it was the perfect guinea pig.
Look, I spend my days playing around with operating systems and stuff and I understand most people won’t be doing that. Only go ahead with SteamOS if you actually have read through the disclaimers above.
It’s totally fine if you don’t want to spend hours debugging issues on a command line.
What You Need Before We Start
If you’ve decided to go ahead with SteamOS anyway, here’s what you need.
You’d need a USB drive that is at least 8GB in size. Though I would recommend 16GB or larger just to be safe. This drive will get completely wiped, so back up anything important on a separate computer first.
A PC you are okay with completely wiping. SteamOS does not currently support dual-booting. So, whatever drive you install this on, expect SteamOS to wipe all data that exists on that computer
A stable internet connection. The SteamOS updates itself after install and you’d need that to finish initial setup.
A separate computer or laptop to create a bootable USB.
Step 1: Download The SteamOS Image
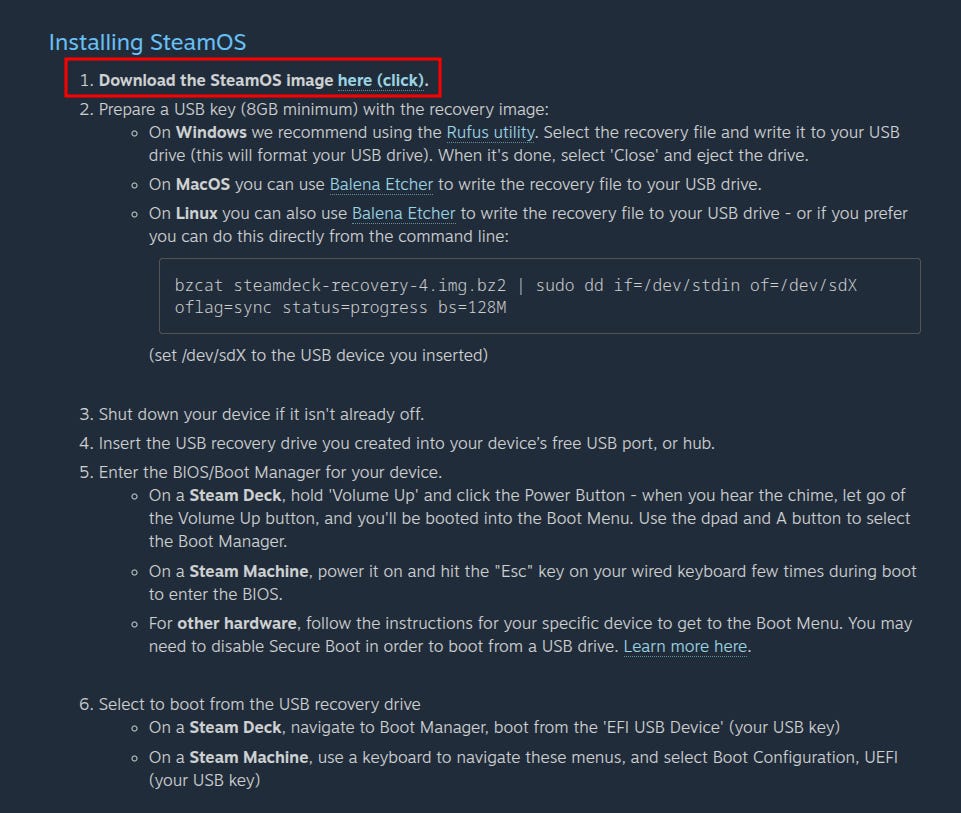
First step is grabbing the actual SteamOS image from Valve from the link below: https://help.steampowered.com/en/faqs/view/65B4-2AA3-5F37-4227#install
On the page above click the link next to the ‘Download the SteamOS image’ button. You will need to agree to the terms before the download button becomes available.
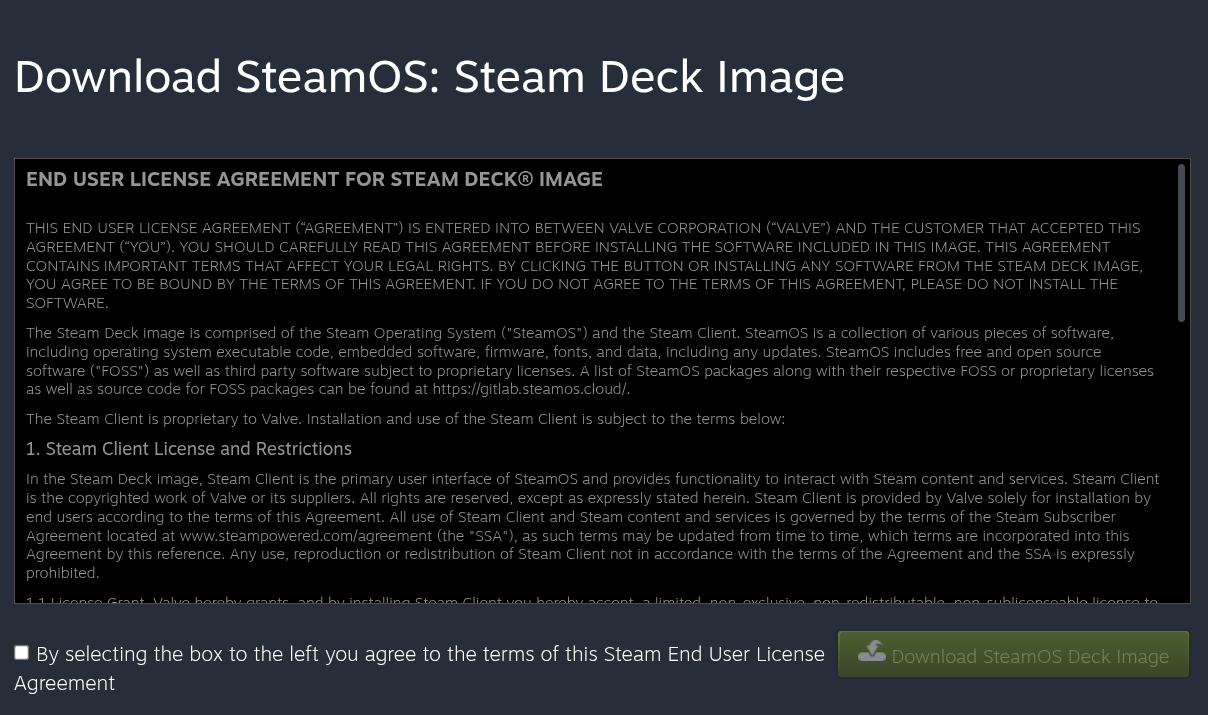
Click through and the download will start. Depending on your connection this can take a few minutes since the image itself sits at a few gigabytes.
Once it finishes downloading, do not touch the file yet. We need balenaEtcher ready first.
Step 2: Flash It With balenaEtcher
If you have not already, install balenaEtcher through the link below:
https://etcher.balena.io/
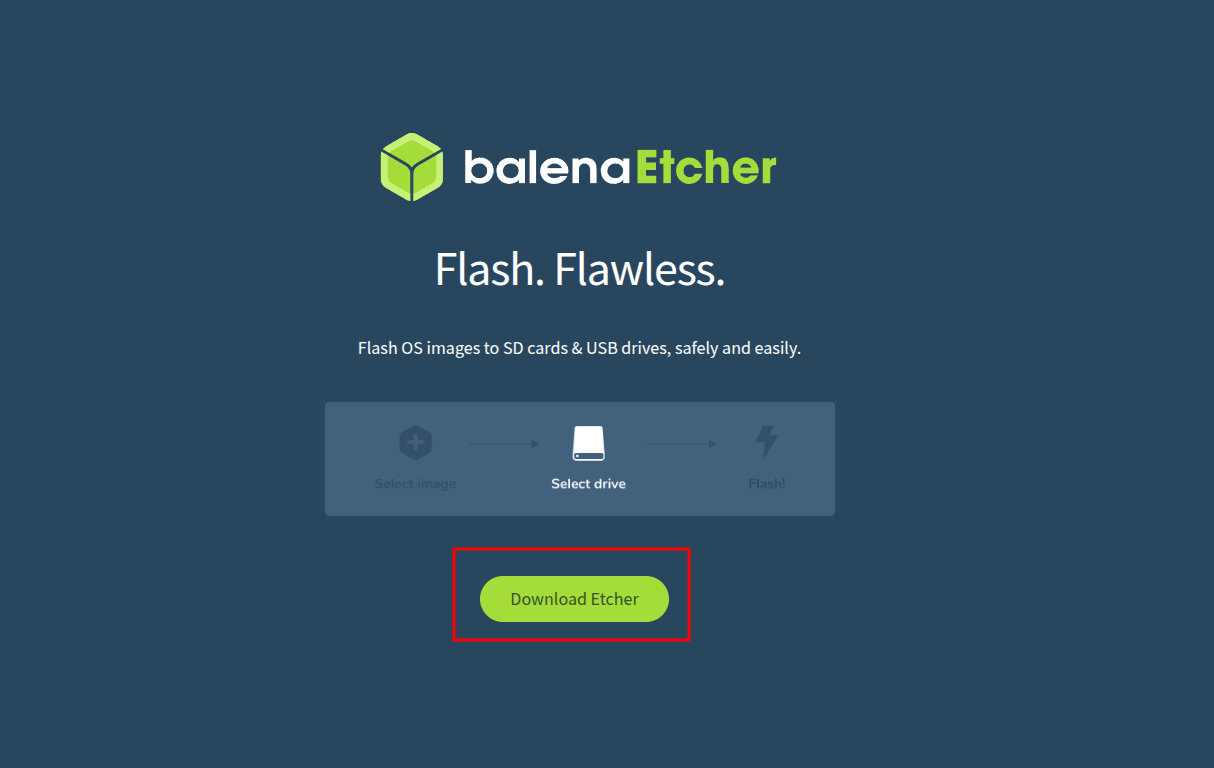
balenaEtcher is the software that will convert our normal USB drive into a bootable SteamOS USB. Installation depends upon your operating system and is genuinely just clicking through a few prompts.
Once Etcher is open, plug in your USB drive.
Click the “Flash from file” button and navigate to wherever your SteamOS image is downloaded to.
Etcher should automatically detect your USB drive if it is the only one connected.
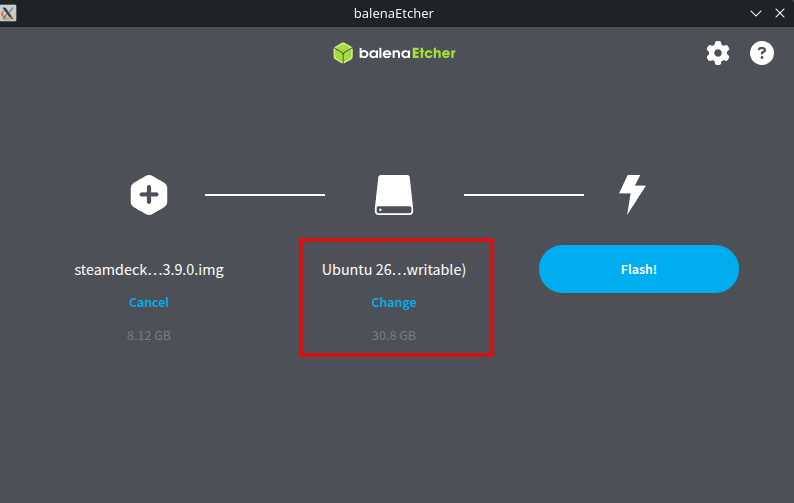
If you have multiple drives plugged in, double check you are selecting the right one before continuing, since Etcher will completely erase whatever is on it.
Hit the Flash button and wait. This part took me roughly 10 to 15 minutes, though your mileage will vary depending on how fast your USB drive actually is.
One tip: if you are on a slower drive and the estimated time looks insane, a few people in Steam Deck communities have reported that decompressing the image file first before flashing speeds things up dramatically on certain setups.
Worth knowing if Etcher is telling you the flash will take several hours. Once Etcher confirms the flash completed, you are ready to actually boot into this thing.
Only change: the period after “insane” became a comma and “A few” dropped to “a few,” so the tip is one complete thought instead of a dangling “if.”
Step 3: Boot Into The Installer
Plug the freshly flashed USB drive into the PC you are installing SteamOS on.
Restart the machine and get into your boot menu.
This is usually done by spamming a specific key during startup, commonly F12, F2, Esc, or Delete depending on your hardware manufacturer.
If you are not sure, a Google search of your specific laptop or motherboard model plus “boot menu key” will tell you.
Select your USB drive from the boot menu instead of letting it boot normally into Windows or whatever is already installed.
Give it a minute. You should see SteamOS boot into what looks like a stripped down live environment.
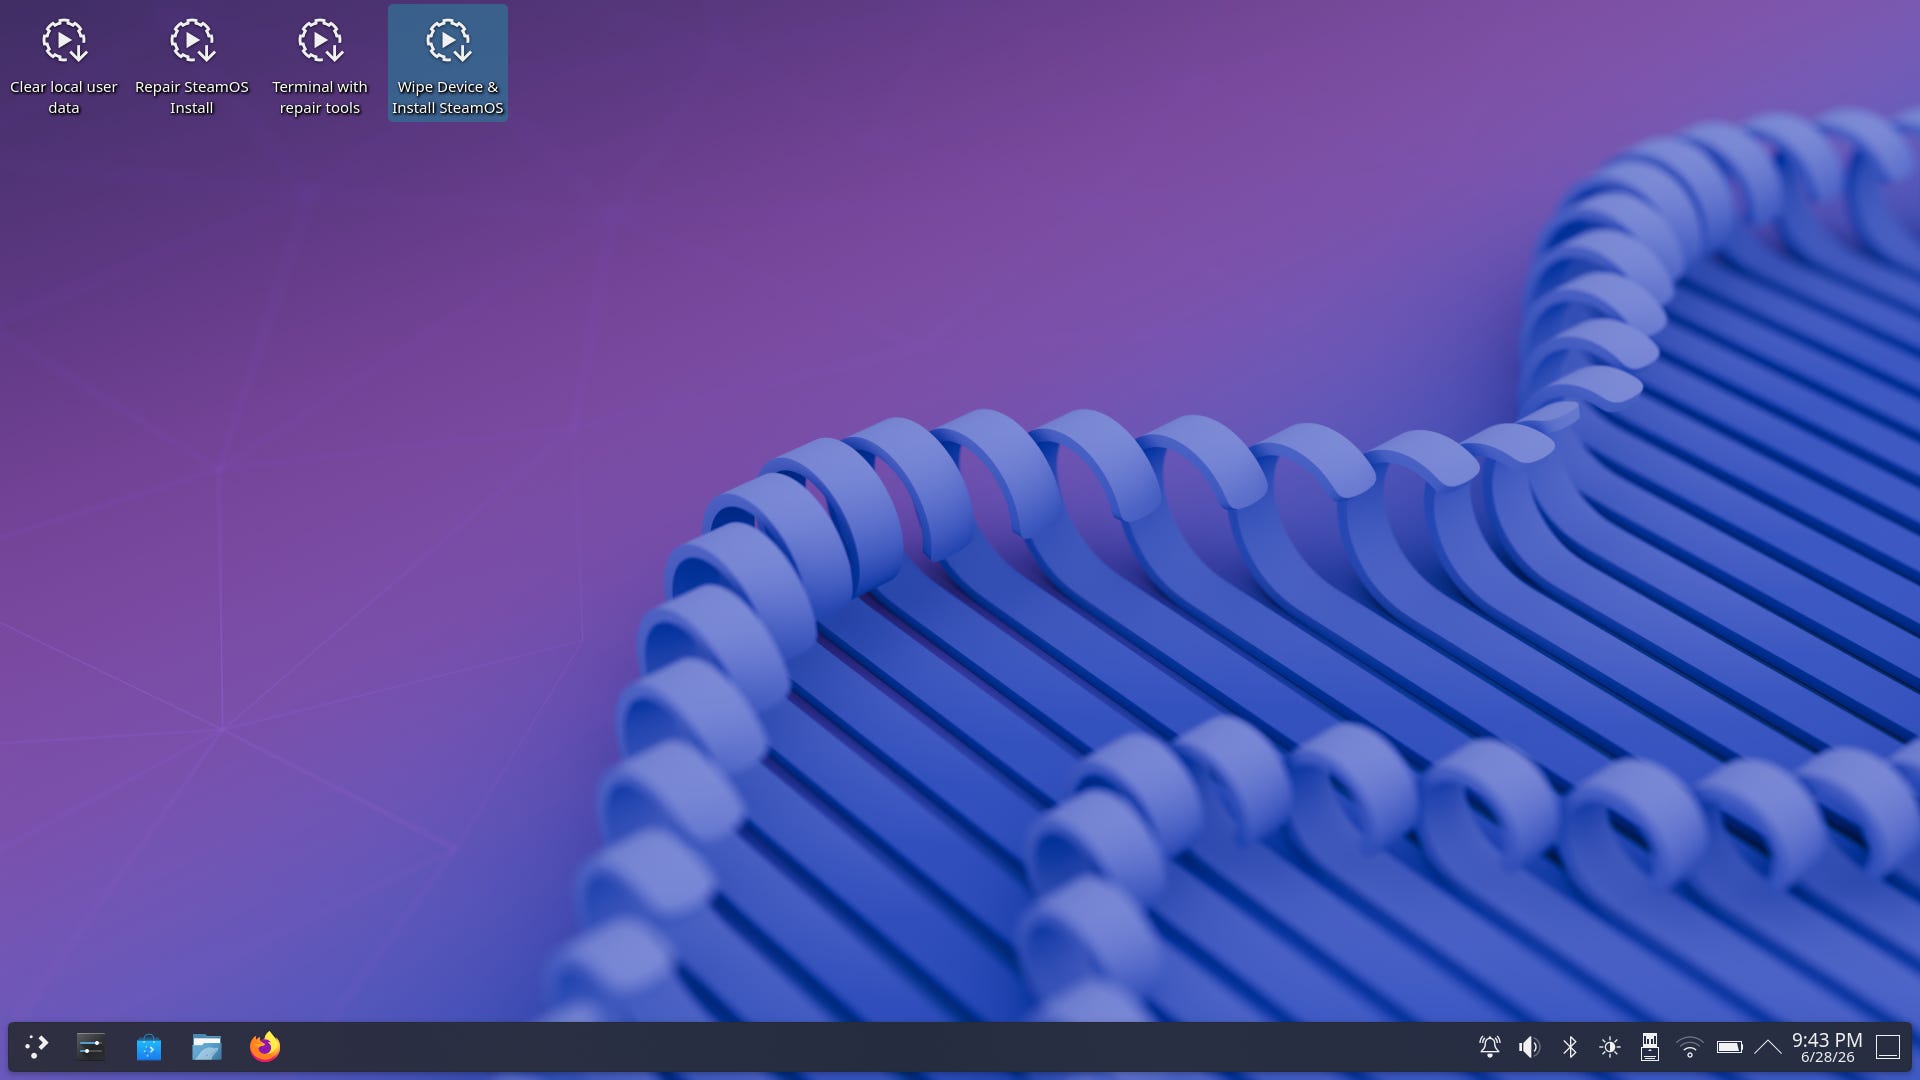
This is essentially the same recovery and install environment that Steam Deck owners use, just running on your own hardware now.
From here you will see the install options. This is where things get real.
Step 4: The Actual Install
Once you are in the SteamOS Live Environment just click the button on the desktop that says ‘Wipe Device & Install SteamOS’.
Disclaimer: Once again, all data on the system’s main drive will be wiped out. Only proceed if you’re okay with that.
Once you confirm, the installer takes over. There is not much for you to do at this stage besides wait. SteamOS copies itself onto your selected drive and sets up the base system.
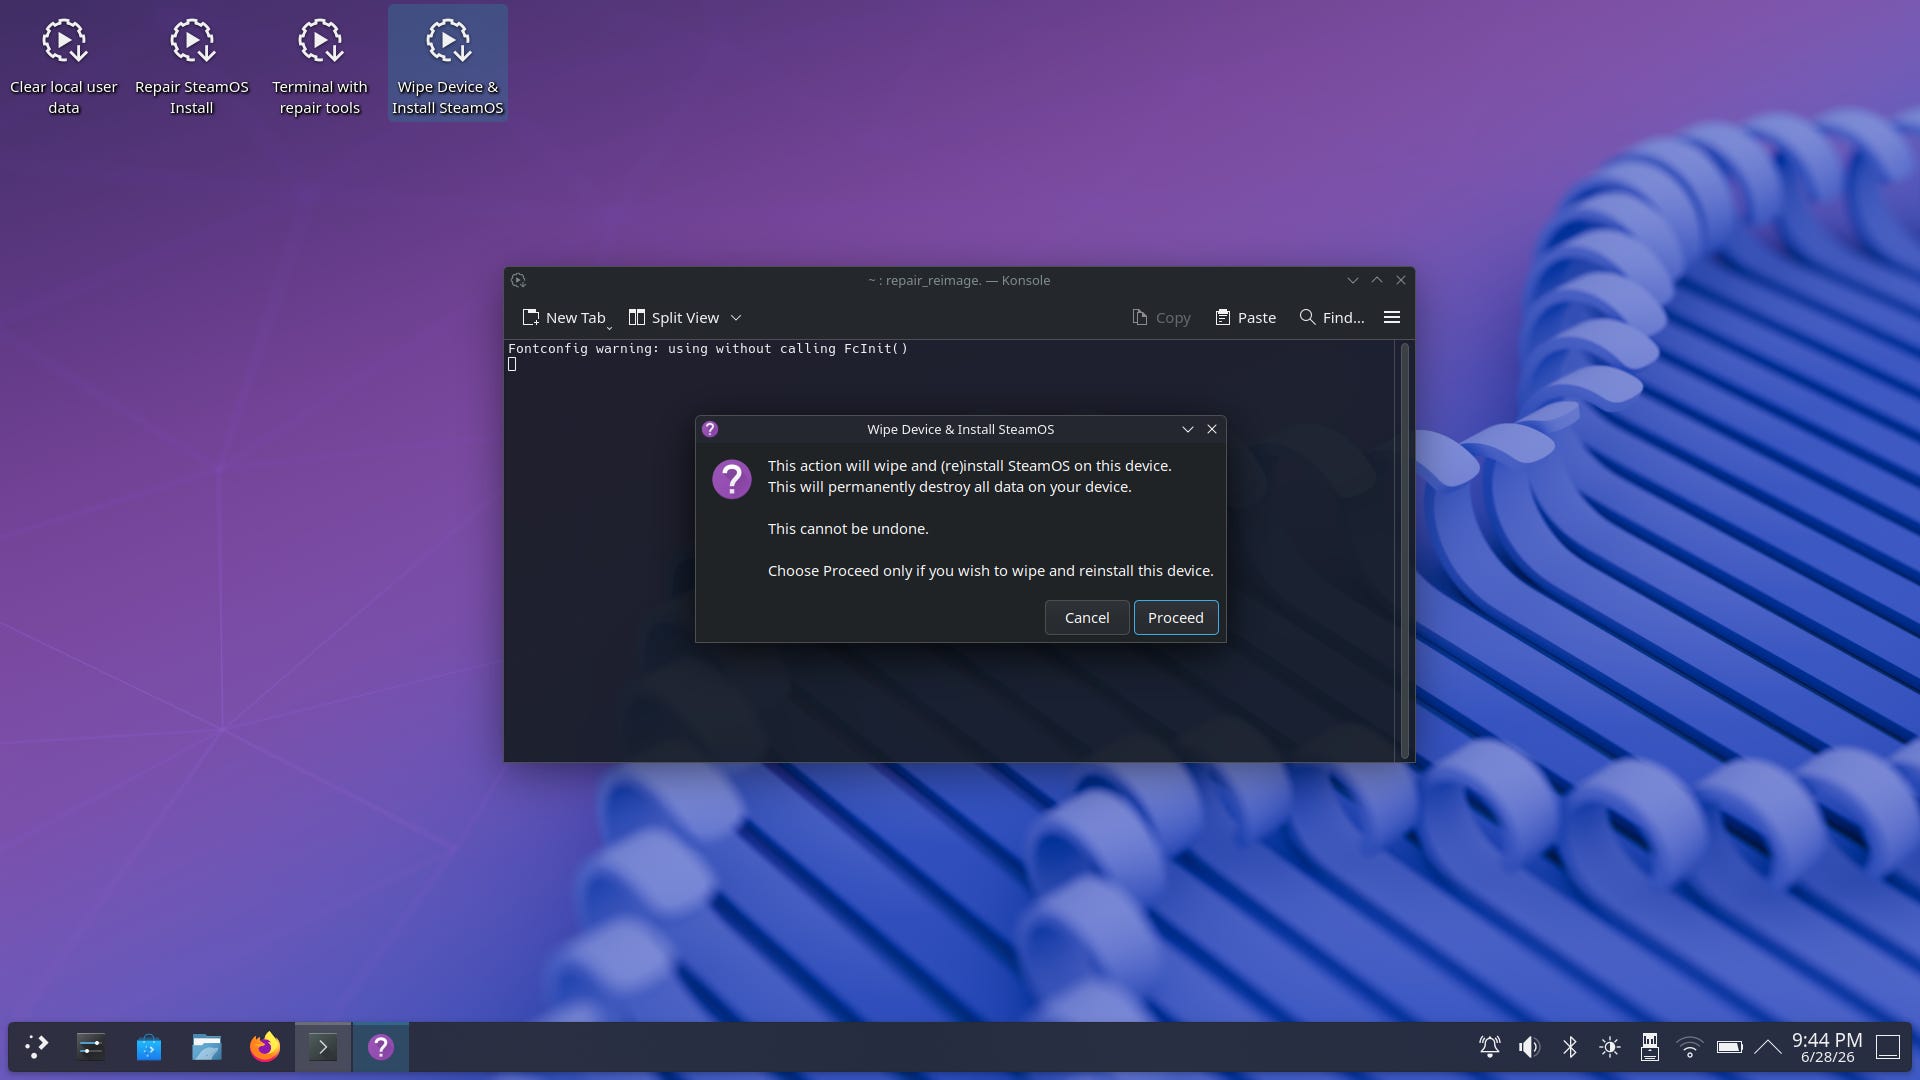
This part took me somewhere around 15 minutes on my setup, though again this depends heavily on your drive speed.
When the install finishes, you will be prompted to remove your USB drive and reboot the machine.
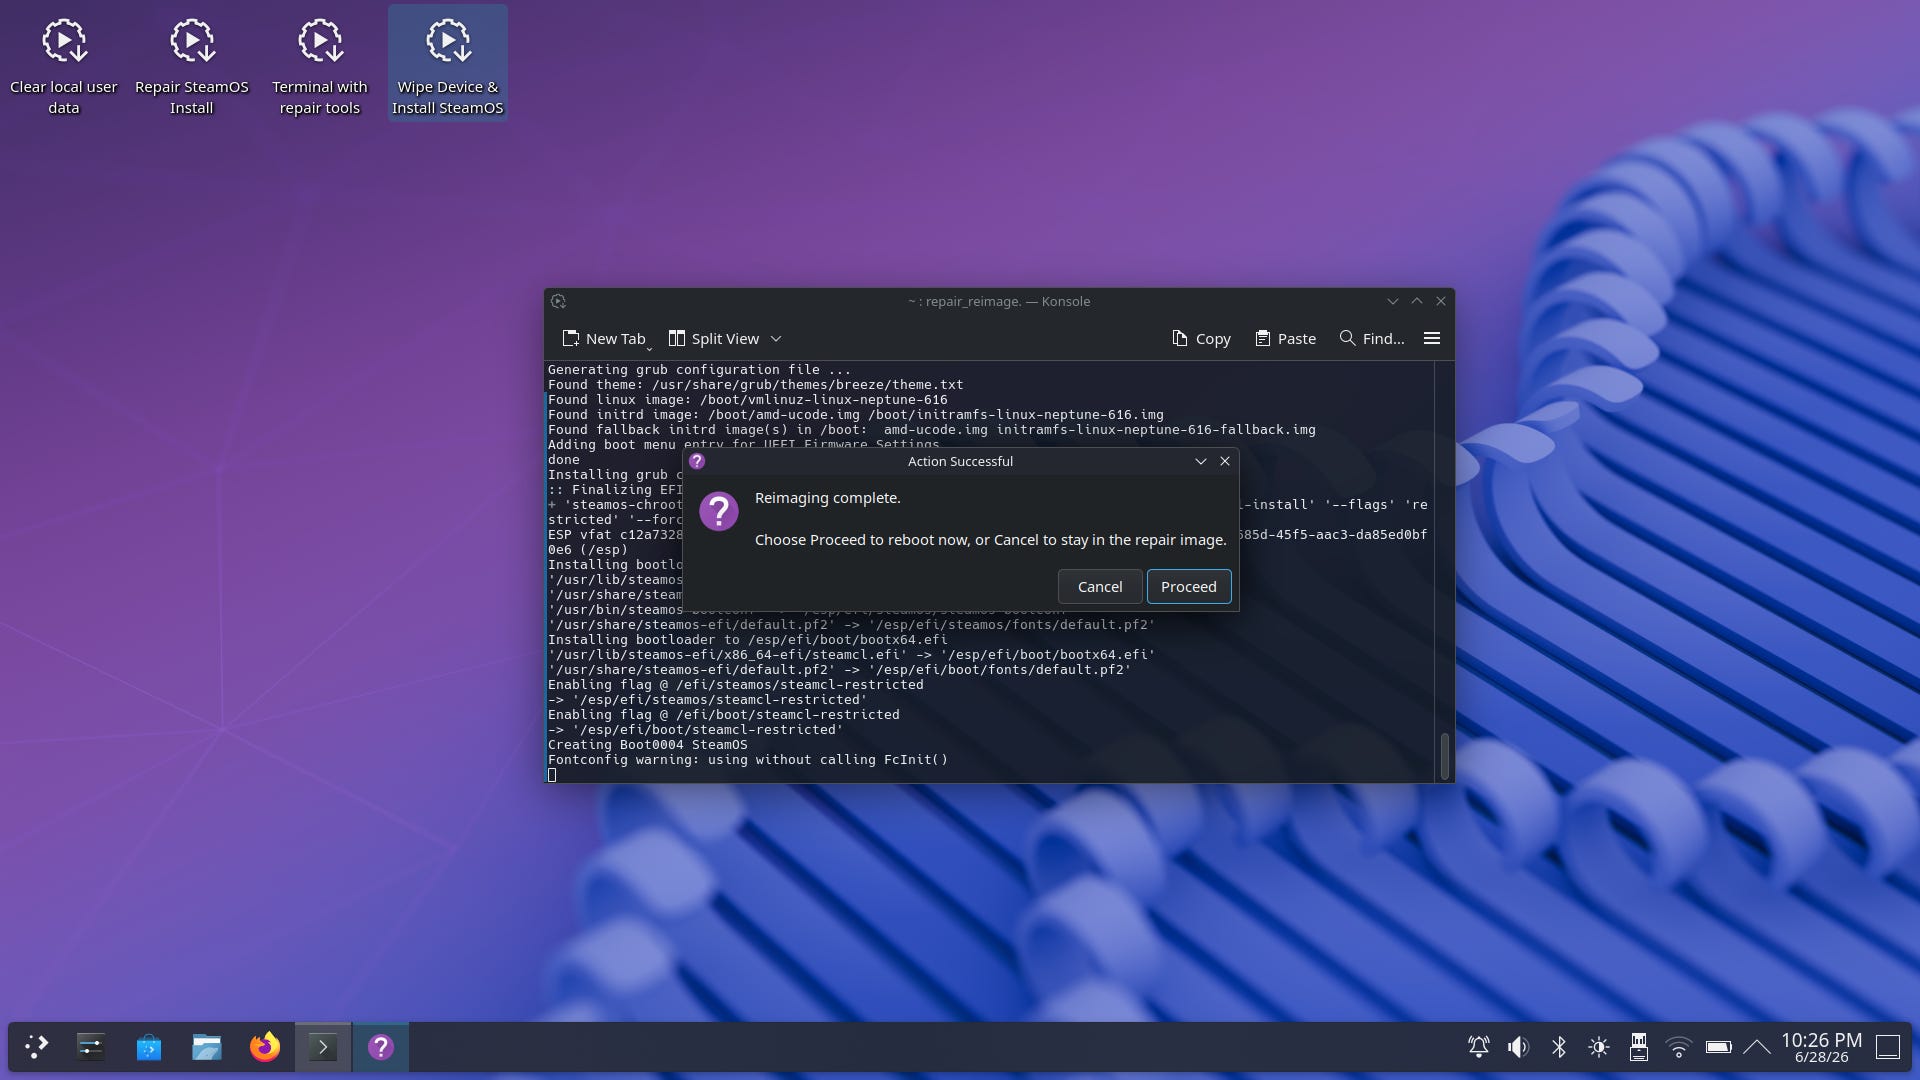
Go ahead and do that now. Pull the USB stick out before the reboot actually happens so your machine does not just boot back into the installer again.
Step 5: The Reboot And Welcome Wizard
This is the part that actually feels like magic the first time you see it.
Your machine reboots and instead of the usual Windows logo or whatever you are used to seeing, you get the SteamOS boot animation.
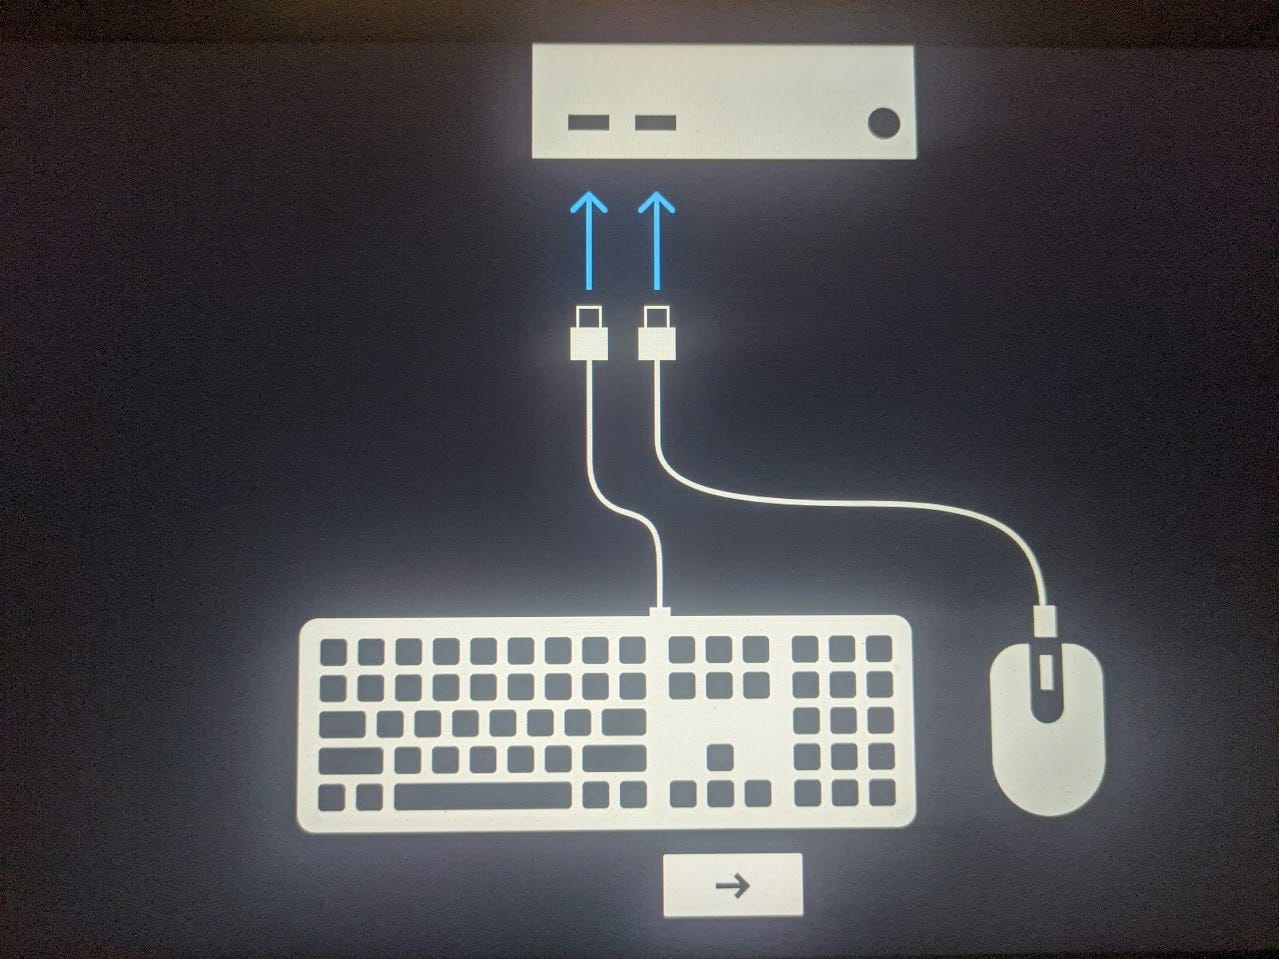
This is the same screen Steam Deck owners see every time they turn their handheld on.
From here SteamOS launches its welcome wizard. This walks you through the basics.
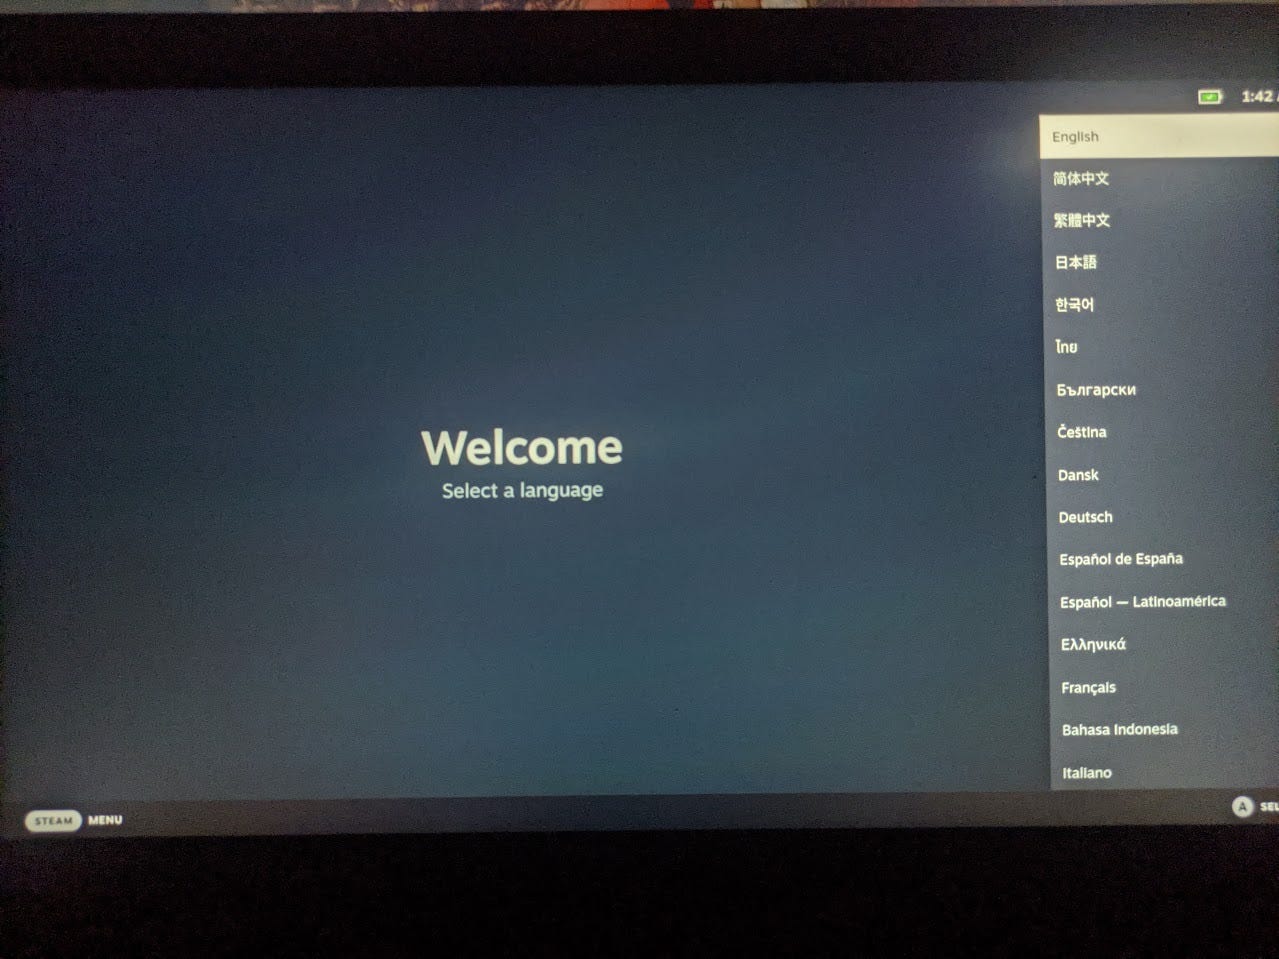
You have to set your language, your timezone and your WiFi network.
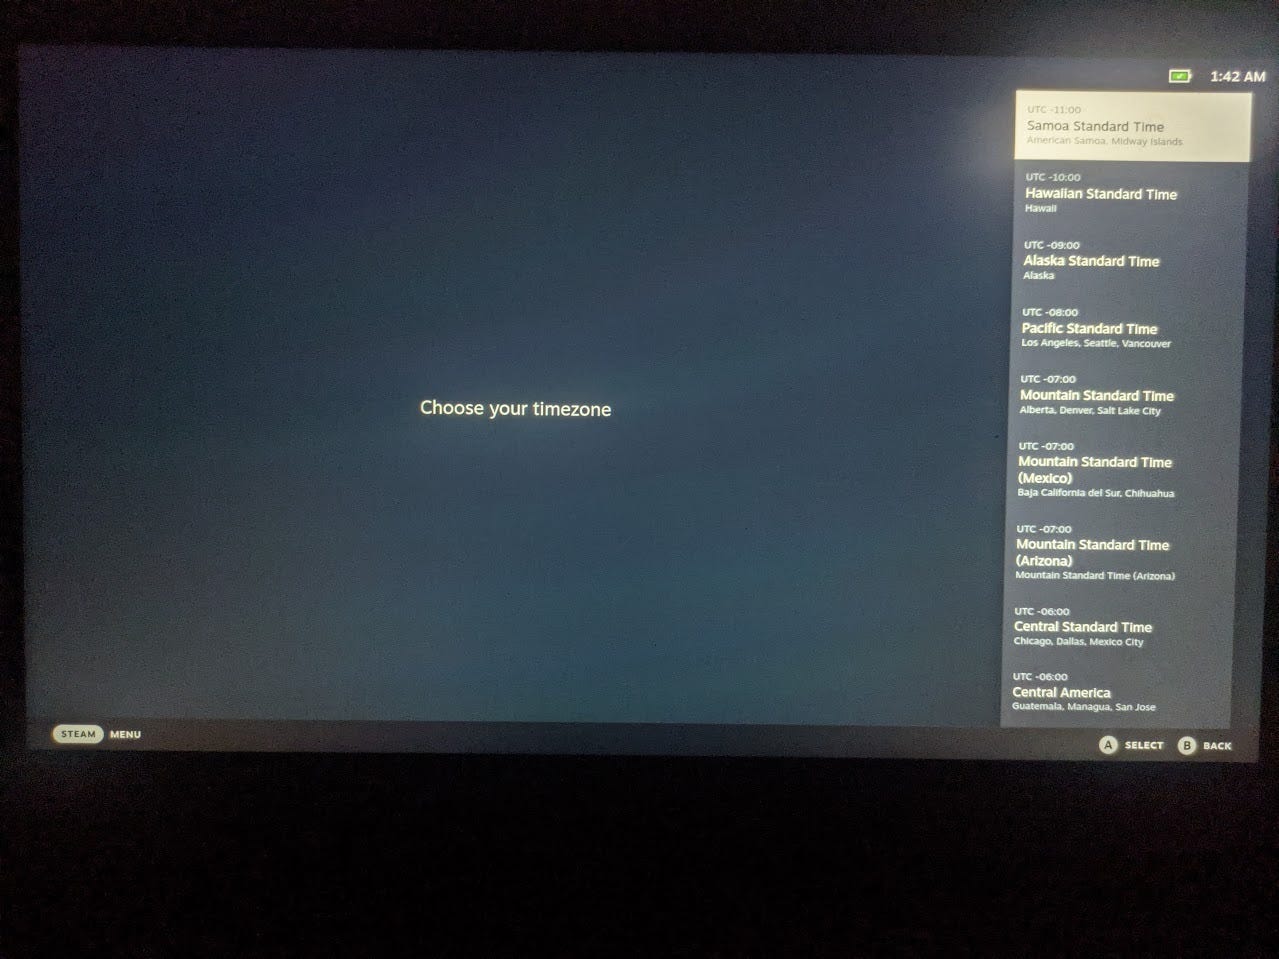
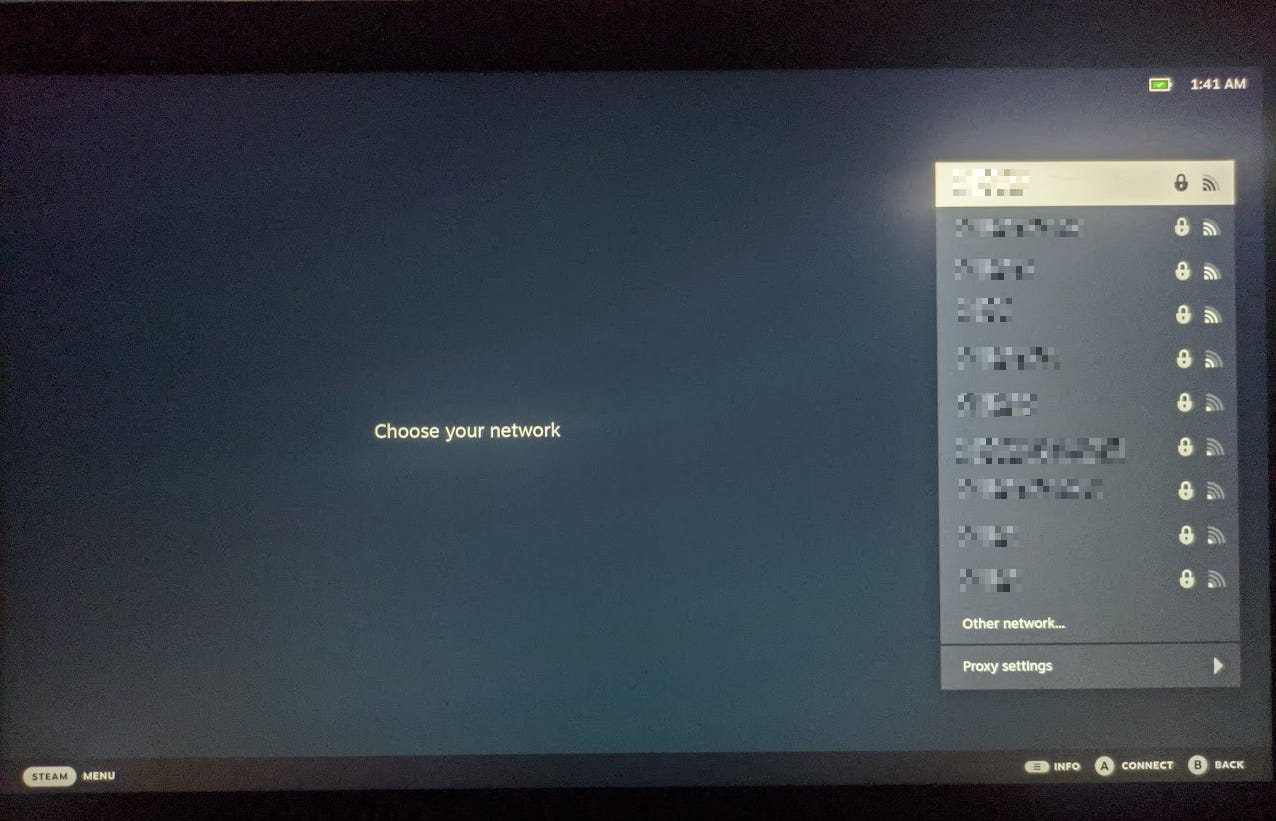
I have censored the networks around my area but you’d see the actual names of the networks around you.
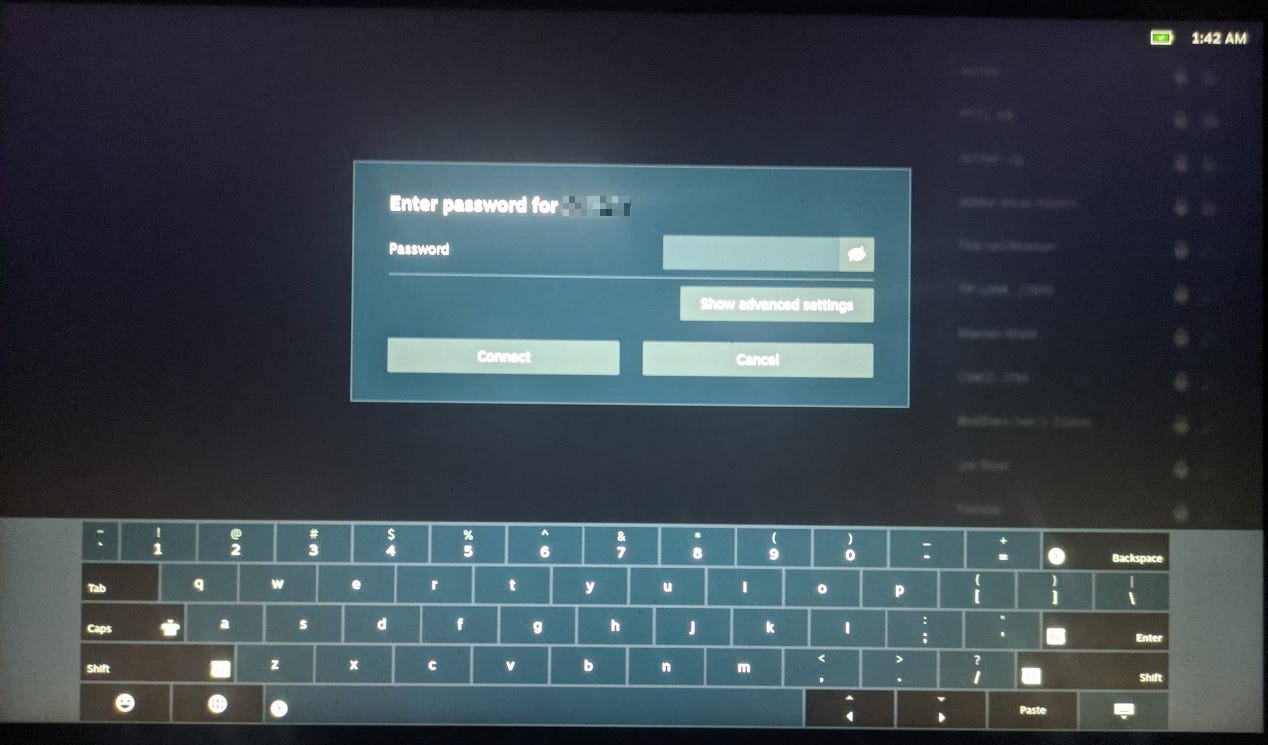
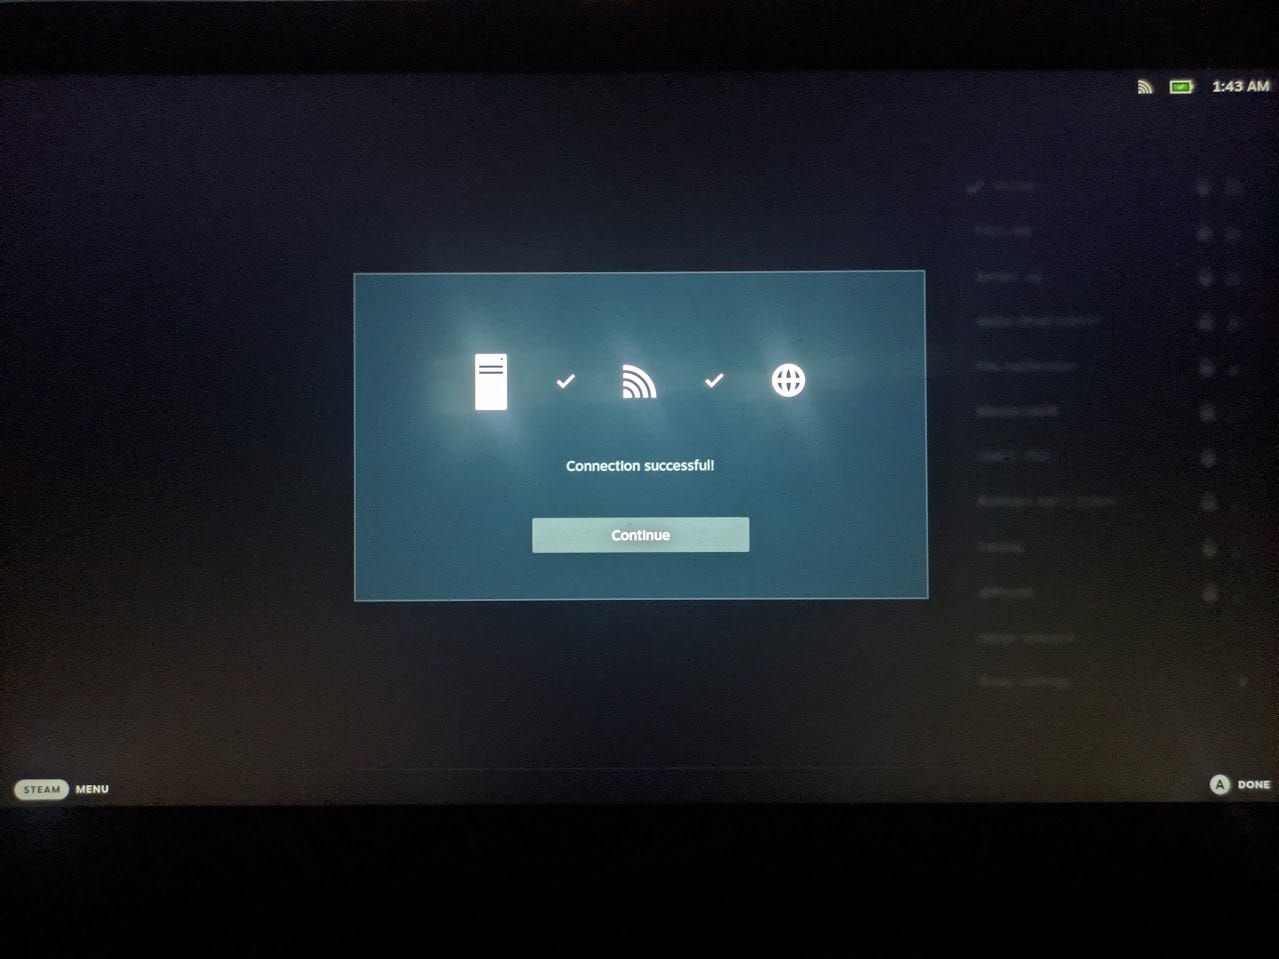
The whole wizard felt genuinely smooth on my end, very close to the experience you get on actual Steam Deck.
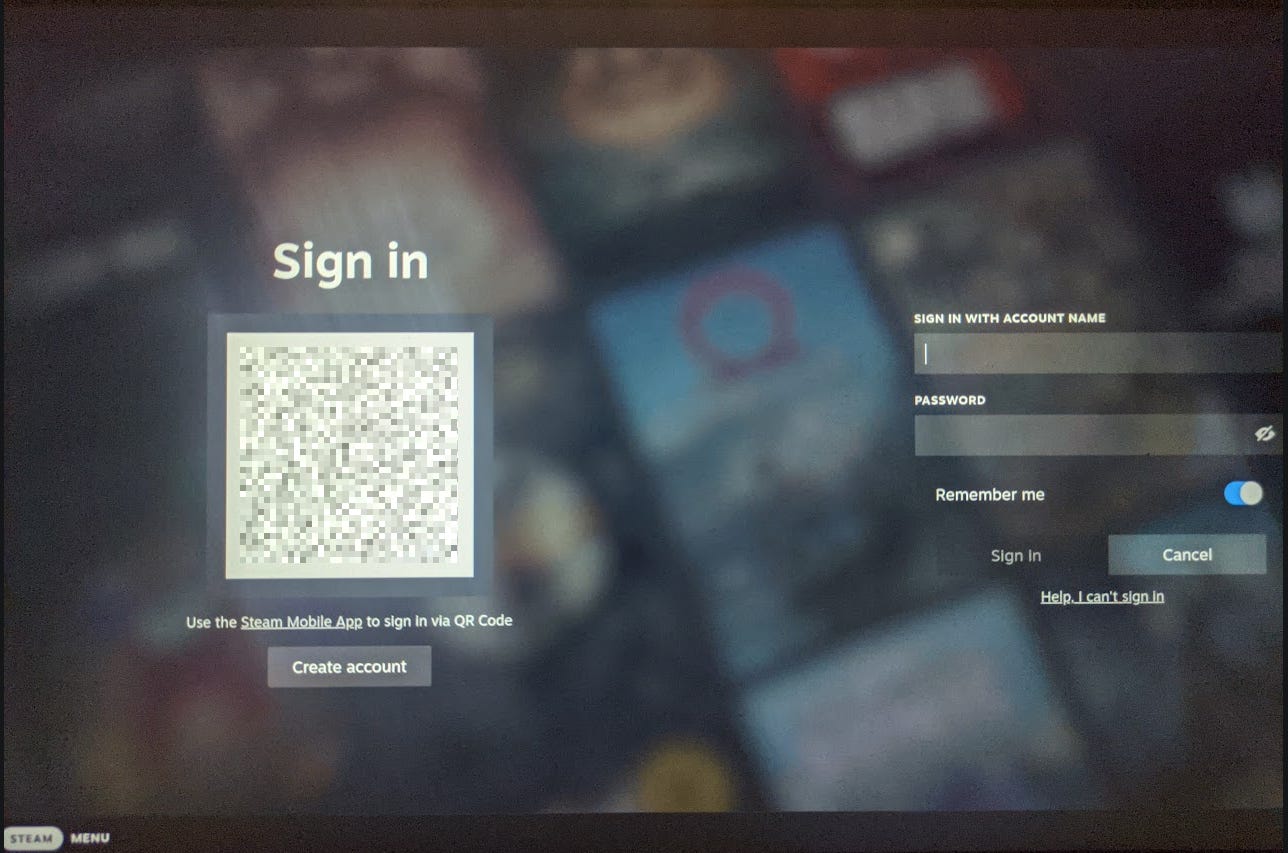
In the end you need to sign in with your Steam account.
As you sign in you are dropped straight into Gaming Mode.
Your Steam library shows up out of the box, complete with controller support and pre-optimized settings.
There is also a Desktop Mode tucked away if you want to poke around under the hood, install other software, or just see what is going on beneath the gaming interface.
And that is genuinely it. Start to finish, including download time, the whole process should take you less than an hour.
My install took a bit more time but that was more because of my specific hardware that is a bit old so things can get different depending on the hardware you’re installing SteamOS on.
What This Means Going Forward
If you have gone through the steps above you should have a working SteamOS install on your PC.
It is the same OS that the Steam Deck and the Steam Machine use.
Again, the Steam Machine price is annoying and I am not going to pretend otherwise.
But the existence of an open, free, supported SteamOS that runs on hardware you already own is genuinely a bigger deal long term than the Steam Machine itself.
And that’s what I feel is Valve’s goal in all of this. It’s exactly what they’ve said in the Steam Machine launch blog post:
“The strength of PC gaming is the ability to play the games you want on the hardware you want. Steam Machine is *a* solution to these problems (and we think it’s a great one), but it’s not the only solution, and we don’t want it to be.”
SteamOS is quite new and as people report bugs and Valve fixes them there is an exciting path that one can go to if they’re fed up with what Microsoft has been doing with Windows all the while.
Windows still dominates the desktop market share and it will continue to do so for quite some time.
But it’s really cool that we have an alternative that is slowly and gradually becoming better than ever and all of us can be a part of that.
On Steam, Linux is now more popular than macOS driven largely by SteamOS adoption through the Steam Deck.
And this will only improve through the Steam Machine.
In my opinion, As Valve opens up SteamOS for more platforms and works with partners like Nvidia, it is building something bigger than even the Steam Machine.
If you already have a decent AMD GPU sitting around, or even an Intel Arc card, you do not need to wait or pay a thousand dollars for a Steam Machine
You just need a spare drive, a USB stick, and about an hour of your time (ideally).
So yeah. The Steam Machine price is rough. But Valve also just handed you the actual loophole, and barely anyone is talking about it.
I hope this guide helped you build your own setup if you decided to give it a shot.
Please don’t hesitate to share your experience with SteamOS if you’ve gone through it. Or just share any thoughts related to SteamOS in the comments down below.
Further Learning
Valve Steam Machine hits $1,049 as the RAM crisis forces a major price rethink
AI crisis turned Valve’s $750 Steam Machine into a $1,049 one - Memeburn
Valve will finally let you build your own Steam Machine with SteamOS for desktop - The Verge
SteamOS Nvidia support confirmed: Valve has a growing team but AMD builds work now
You don’t need a Steam Machine to run SteamOS - Valve opens it up to any AMD PC
Valve confirms SteamOS is coming to any PC, with Nvidia support in the works
Interesting, tho imo using another OS like ZorinOS is a better idea since it can be used for Linux gaming quite optimally and has tons of community support in helping you figure out errors easily. Would recommend using it until official SteamOS support is launched for your PC.